If you use Windows 10, see the article on How to Connect Printers and Devices in Windows 10.
To install a printer:
Read the instructions that came with the printer.
Some printers require that you install software before connecting them, but you can connect other printers immediately.
Turn on your computer and then follow one of these option, as it fits your needs:
If your printer is a Plug and Play device, connect it and power it on; Windows installs what it needs automatically.
Insert the disk that came with the device and follow the on-screen instructions.
Choose Start→Devices and Printers.
If you have a wireless printer, choose Start→Devices and Printers and click the Add a Printer link in the window that appears. Choose the Add a Network, Wireless, or Bluetooth Printer option and follow the instructions.
If you choose the third option in Step 2, in the Devices and Printers window that appears, click the Add a Printer link near the top.
The Add Printer dialog box appears.
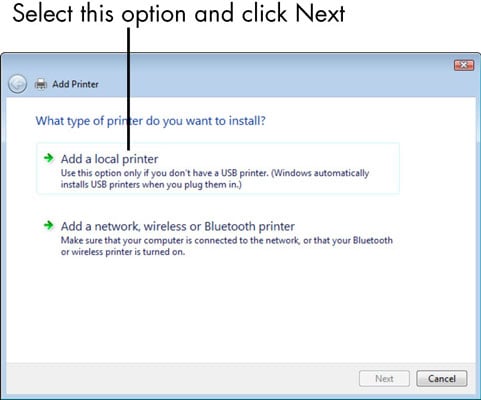
In the Add Printer dialog box, click the Add a Local Printer option and click Next.
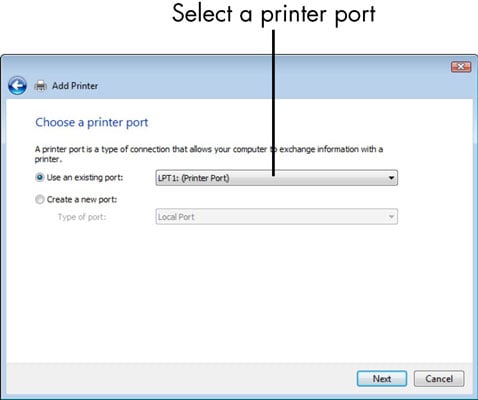
The Choose a Printer Port dialog box appears.
Click the down arrow on the Use an Existing Port field and select a port, or just use the recommended port setting that Windows selects for you. Click Next.
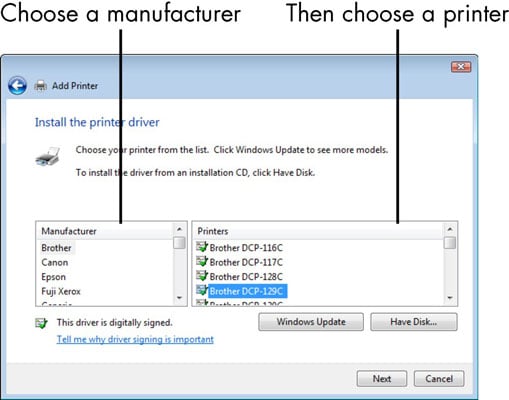
The Install the Printer Driver dialog box appears.
Choose a manufacturer and then choose a printer.
You then have two options:
If you have the manufacturer’s disc, insert it in the appropriate CD drive now and click the Have Disk button. Click Next.
If you don’t have the manufacturer’s disc, click the Windows Update button to see a list of printer drivers that you can download from the Microsoft Web site. Click Next.
In the resulting Type a Printer Name dialog box, enter a printer name. Click Next.

You see yet another dialog box.
Click Finish to complete the Add Printer Wizard.
If your computer is on a network and you choose the fourth option in Step 2, you get additional dialog boxes in the wizard, including one right after you name the printer, which allows you to share the printer on your network.