
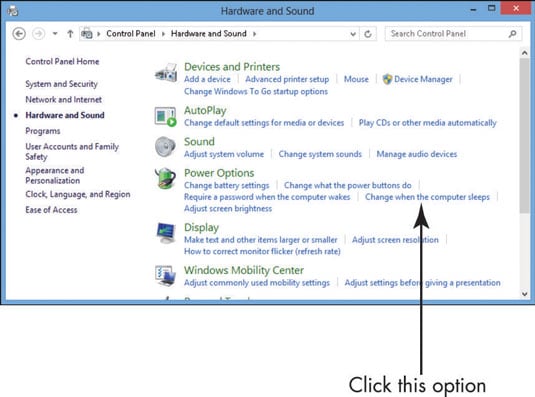
To change this setting, from the Control Panel, choose Hardware and Sound.
You can change this as necessary, so don’t feel like your computer must always be set to these changes.
In the Power Options section, click the Change When the Computer Sleeps link.
The Edit Plan Settings window will appear.
In the Edit Plan Settings window that appears, find the Put the Computer to Sleep field and click the arrow in the field in the On Battery column.
A drop-down list will appear.
From the drop-down list, select another setting for when the computer automatically puts itself to sleep.
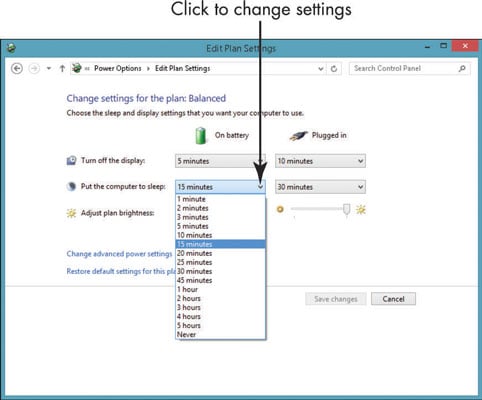
A smaller interval saves battery power, but it might disrupt your work. So choose a setting according to your preferences.
Click the Save Changes button to save the new setting.
You can adjust the Brightness, Screen off, and Sleep settings for your computer through PC Settings if you prefer.
Press Win+I from either the Desktop or Start screen and click Change PC Settings→PC & Devices→Power & Sleep. Use the Brightness, Screen, and Sleep settings there to control whether to have your device automatically adjust screen brightness, and how long to delay before turning the screen off or putting the PC to sleep.