
Basic tables are simple to create in PowerPoint 2013. The easiest way to create a slide that contains a table is to use the Title and Content slide layout. Just follow these steps:
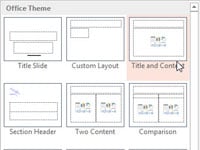
Open the Home tab on the Ribbon and then click the New Slide button in the Slides group to add a slide with the Title and Content layout.
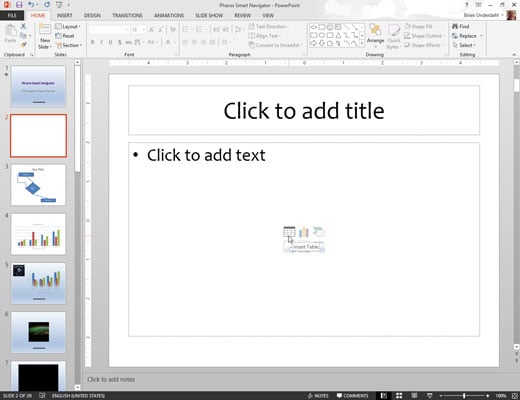
A new slide is created.
Click the Table icon in the center of the Content placeholder.
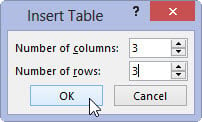
The Insert Table dialog box appears.
Set the number of rows and columns you want for the table and then click OK.
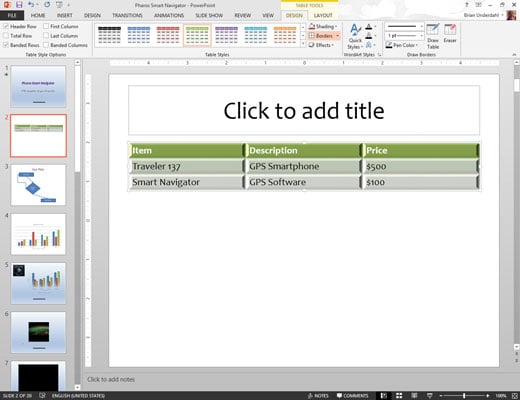
The table appears.
Type information into the table’s cells.
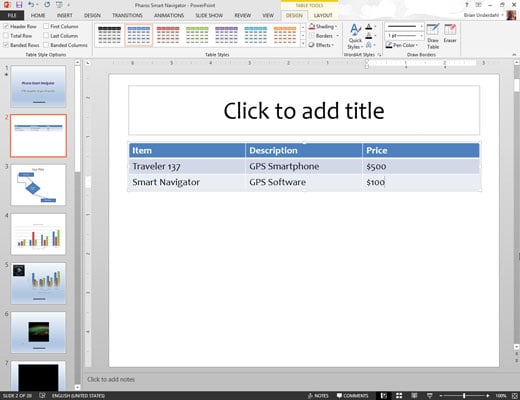
You can click any cell in the table and start typing. Or you can move from cell to cell by pressing the Tab key or the arrow keys.
Play with the formatting if you want.
You can use Table Tools on the Ribbon to control the formatting for the table.
When you’re done, you’re done. Admire your work.