


A digital camera, like your Nikon D3100, compensates for different colors of light through white balancing. Simply put, white balancing neutralizes light so that whites are always white, which in turn ensures that other colors are rendered accurately. If the camera senses warm light, it shifts colors slightly to the cool side of the color spectrum; in cool light, the camera shifts colors the opposite direction.
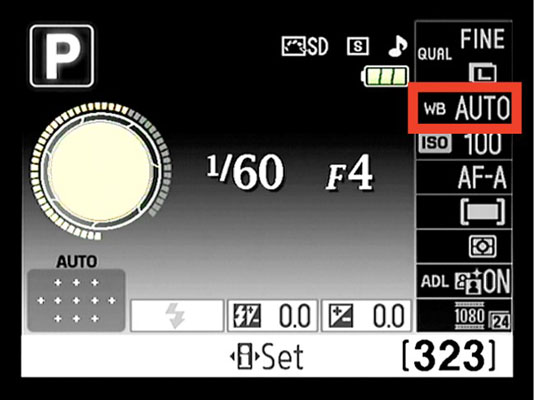
The current White Balance setting appears in the Shooting Info screen.
As with most of the critical photography settings, you can adjust the White Balance setting in a few ways:
Quick Settings screen: Remember, you can get to this screen by pressing the Info Edit button. Press once if the Shooting Info screen is already visible; otherwise, press twice. After highlighting the White Balance option, press OK. Highlight the desired setting, and press OK.

Shooting menu: You also can adjust the White Balance setting through the Shooting menu. Going this route gives you access to some additional White Balance settings.

Fn (Function) button plus Command dial: You can set the Fn button on the side of the camera to directly bring up the White Balance setting. If you do so, however, the button no longer serves its default purpose, which is to call up the ISO Sensitivity setting.
Via the menus, you can accomplish the following additional white balance goals:
Fine-tune the settings: If you choose any setting but Fluorescent, pressing OK takes you to a screen where you can fine-tune the setting.
Select a specific type of Fluorescent bulb: When you choose Fluorescent from the menu, pressing OK displays a screen where you can select a specific type of bulb. Select the option that most closely matches your bulbs and then press OK. You then go to the fine-tuning screen. Again, just press OK if you don't want to tweak the setting.

After you select a fluorescent bulb type, that option is always used when you change white balance through the Shooting Info display (as outlined previously) and choose the Fluorescent White Balance setting. Again, you can change the bulb type only through the Shooting menu.
Create a custom white balance preset: Selecting the PRE option from the menu enables you to create and store a precise, customized White Balance setting. This setting is the fastest way to achieve accurate colors when your scene is lit by multiple light sources that have differing color temperatures.
Your selected White Balance setting remains in force for the P, S, A, and M exposure modes until you change it. So you may want to get in the habit of resetting the option to the Auto setting after you finish shooting whatever subject it was that caused you to switch to manual white balance mode.

