The tools found on the Retouch menu of your Nikon D7100 provide the capability to repair your not-so-great photos right in the camera. Every photographer produces a clunker now and then. When it happens to you, don’t be too quick to press the Delete button, because many common problems are surprisingly easy to fix.
Access the Retouch menu.
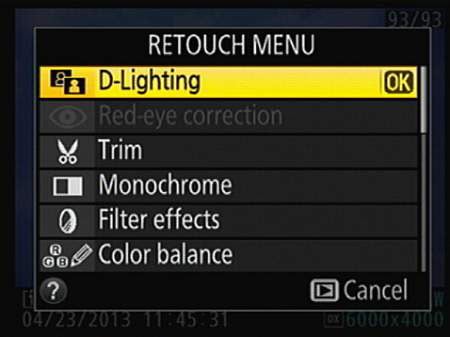
In single-frame playback view, press the i button to access the Retouch menu.
Remove red eye.
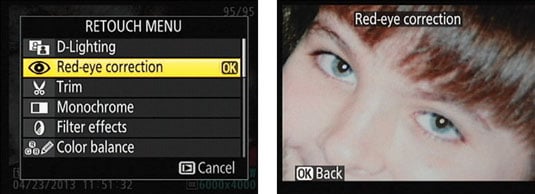
For portraits marred by red-eye, give the Red-Eye Correction filter a whirl. After you select the tool, as shown on the left, press OK. If the camera can’t find any red-eye, it displays a message telling you so. But if it detects red-eye, it applies the removal filter and displays the results on the screen, as shown on the right.
Straighten tilting horizon lines.
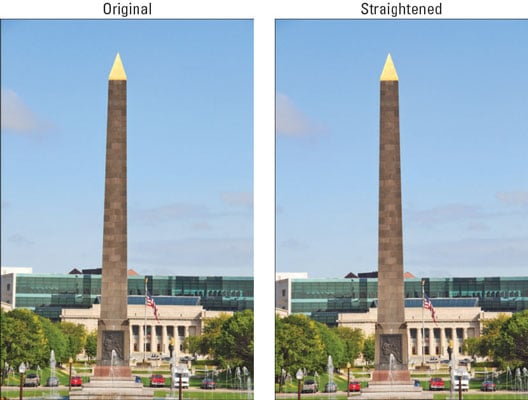
The D7100 offers a Straighten tool that can rotate tilting horizons back to the proper angle, as shown in the right image in the figure.
To achieve this rotation magic, the camera must crop your image and then enlarge the remaining area — that’s why the after photo contains slightly less subject matter than the original.
Remove (or create) lens distortion.
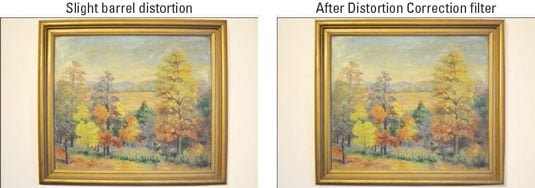
Certain lenses can produce a type of distortion that causes straight lines to appear curved. Wide-angle lenses, for example, often create barrel distortion, in which objects at the center of a picture appear to be magnified and pushed forward — as if you wrapped the photo around the outside of a barrel.
Notice that in the original image, on the left, the edges of the painting appear to bow slightly outward. Pincushion distortion affects the photo in the opposite way, making center objects appear smaller and farther away.
Correct perspective.
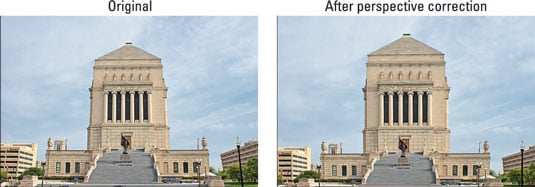
When you photograph a tall building and tilt the camera up to get it all in the frame, a convergence or keystoning effect occurs. This effect causes vertical structures to tilt toward the center of the frame. Buildings sometimes even appear to be falling away from you, as shown in the left image.
(If the lens is tilting down, verticals instead lean outward, and the building appears to be falling toward you.) Through the Retouch menu’s Perspective Control feature, you can right those tilting verticals, as shown in the after photo on the right.
Crop (or trim) your photo.
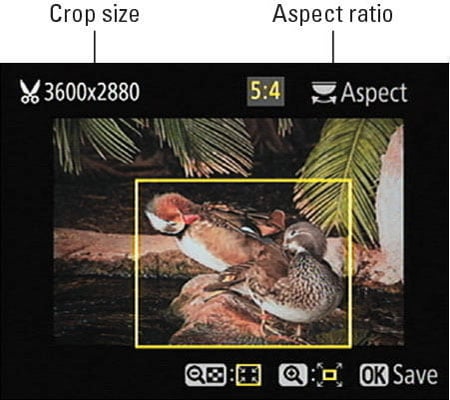
To crop a photo means to trim away some of its perimeter. Cropping away excess background can often improve an image. With the Trim function on the Retouch menu, you can crop a photo right in the camera. The yellow box indicates the cropping frame.
Manipulate exposure and control.
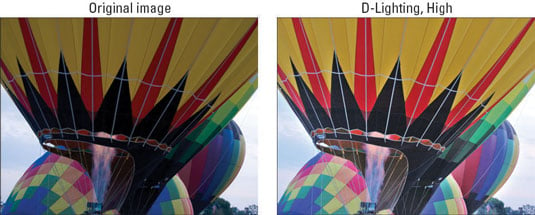
For images that need just a little exposure or color tweak, try these Retouch menu tools: the D-Lighting filter, Quick Retouch, the Filter Effects option, and the Color Balance tool.
Create monochrome images.
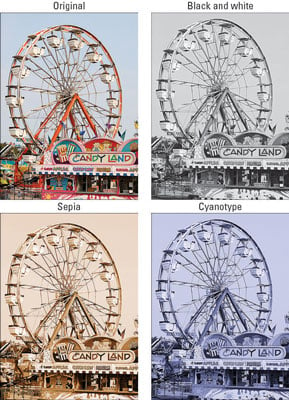
You can create three monochrome effects through the Monochrome tool on the Retouch menu.
You can create a black-and-white copy of an existing color photo by applying the Monochrome option on the Retouch menu. You can also create sepia and cyanotype (blue and white) images via the Monochrome option.
Play with special effects.
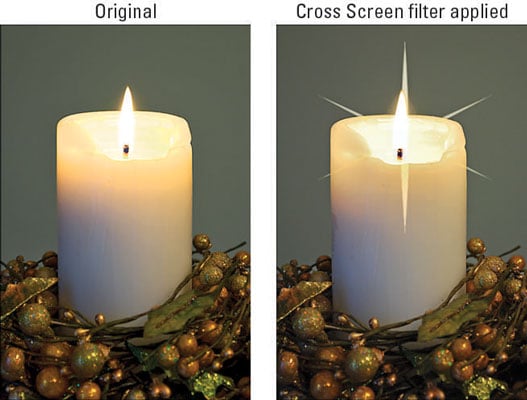
The Retouch menu offers a number of special-effects filters. And through the Effects exposure mode, you can add certain effects at the moment you capture the image — you don’t have to shoot the picture and then tweak it through the Retouch menu. The Effects exposure mode also enables you to record movies by using special effects.
Create a multi-image exposure.
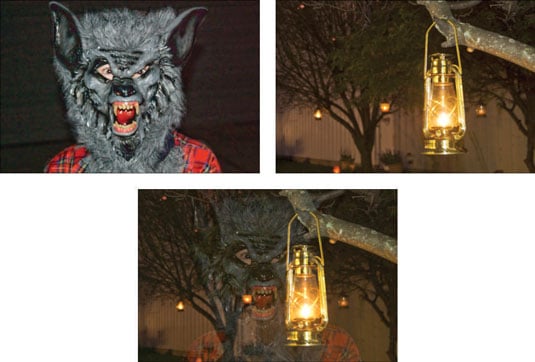
Your camera offers two features that enable you to combine multiple photographs into one:
Multiple Exposure (Shooting menu): With this option, you can combine your next two to three shots. After you enable the option and take your shots, the camera merges them into one file. The shots used to create the composite aren’t recorded and saved separately. The Multiple Exposure option isn’t available in Live View mode.
Image Overlay (Retouch menu): This option enables you to merge two existing Raw images. This option was used to combine a photo of a werewolf, shown on the top left, with a nighttime garden scene, shown on the top right. The result is the ghostly image shown beneath the two originals. Oooh, scary!