
Older vehicles have sealed-beam units, which are relatively easy to deal with. If one of your headlights ceases to shine, first consult your owner’s manual to see whether it contains instructions for replacing the bulb. If it doesn’t, the following steps should get you through the job with a minimum of hassle.
Make sure that the vehicle’s ignition is off before you open the unit.
-
Remove any exterior rings or frames that surround the headlight.
If you need some exotic tool to do this, forget the job and have it done professionally.
-
Loosen the retaining plate that holds the unit in place.
The plate has several screws; round headlights have three screws that loosen the plate, and rectangular headlights have four. The other screws align the headlights by adjusting the angle of the bulb.
If you turn the wrong screws, your headlights go out of alignment, so check your owner’s manual for details.
-
Remove the headlight.
If the retaining screws stick, spray a little penetrating solvent (like WD-40) on them. Hold on to the headlight as you remove the screws so that it doesn’t fall out and smash.
-
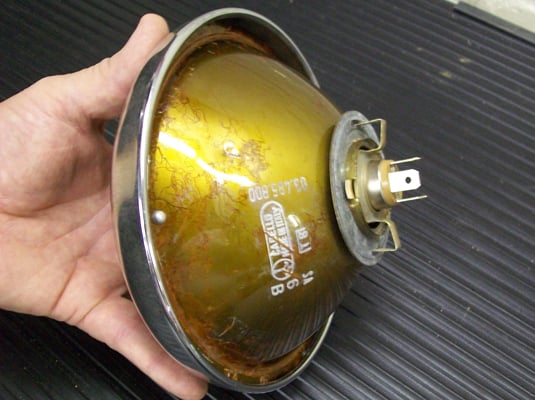
Pull the wiring connector off the back of the old bulb and set the bulb out of the way.
-
Scrape any corrosion off the connector, and check its wiring for wear.
If the connector is very corroded or the wiring looks bad, the problem with the light may be in the wiring rather than the bulb. You’ll know for sure in a minute.
-
Plug the wiring into the new bulb, and insert the bulb into the receptacle.
Be sure to put the new bulb into its locking slots with the unit number at the top. Any small bumps you find on the back edge of the bulb should align with corresponding little depressions in the socket.
-
Hold the bulb in place while you replace the retaining plate. Then replace whatever trim surrounded the headlight.
Turn your headlights on. If the bulb is still out and the fuse is okay, have a professional diagnose and fix the problem.