Casting on for circular knitting is a lot like casting on for flat knitting — in both cases you make a series of loops on one of your needles. These loops serve as the foundation for your later rounds of knitting. The steps below demonstrate the long-tail cast-on, which is a flexible and attractive cast on that works well for most projects.
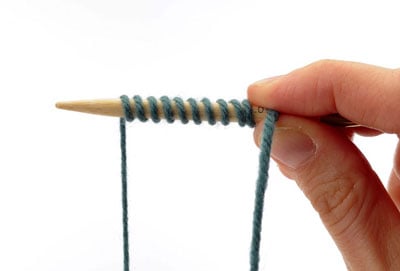
Hold one needle (double-pointed or circular) in your right hand with the tip pointing to the left, wrap the yarn once around the needle for each stitch that you want to cast on.
Leave a tail about 6 inches long.
Make a slipknot in the working yarn beyond the point where you created the last wrap. Remove the wraps from the needle and place this slipknot on the needle.
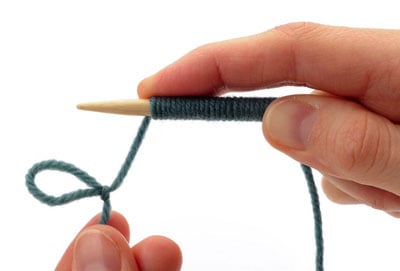
This slipknot counts as your first cast-on stitch.
Hold the needle with the slipknot in your right hand. Place your right index finger on top of the loop on this needle to hold the yarn in place.
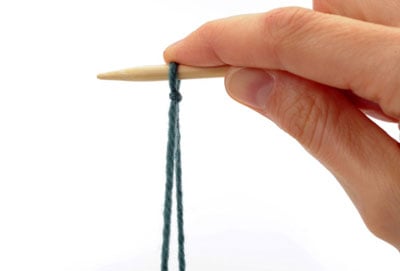
There are now two strands of yarn hanging down from the needle: one is the working yarn attached to the ball, and the other is the long tail. Arrange these strands so that the tail is toward you and the working yarn is to the back.
Grasp both strands in your left hand, holding them with your last three fingers. Then use your thumb and index finger to separate the strands into a diamond shape.
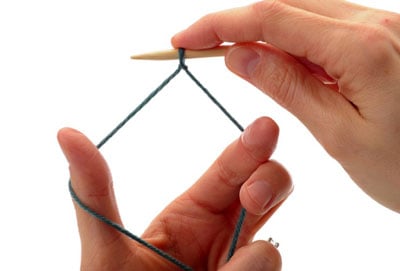
Still holding the yarns, turn your left hand so that your palm is facing you.
Move the tip of the needle below the loop of yarn on your thumb. Slide the needle under and up into this loop.
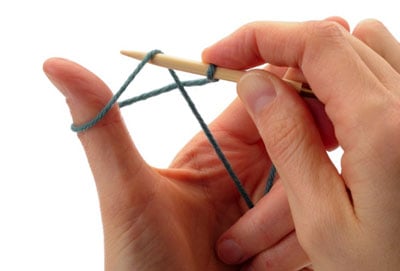
Continue to move the needle up and bring it over the strand of yarn on your left index finger.
Catch this strand of yarn on your needle tip and bring it back down through the loop on your thumb.
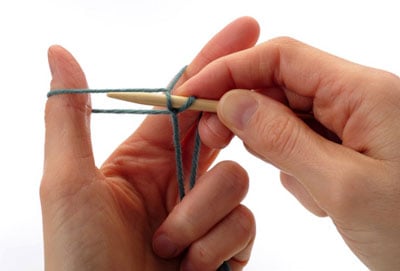
For an attractive and flexible cast-on edge, it is important to space the cast-on stitches evenly as you tighten them on the needle. Leave a small gap between the stitches—they should be a little more than a stitch-width apart. Doing so will prevent your cast-on edge from being too tight.
Let the loop fall off your thumb. Then gently pull both yarn strands down to tighten the stitch into place.
As with any cast on, do not tighten this stitch too much. It should slide comfortably on your needle but should not appear sloppy.
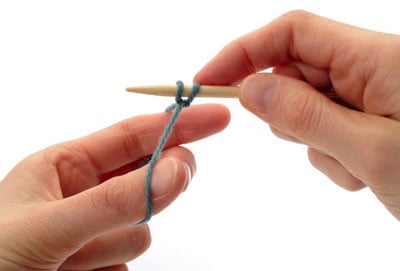
Repeat until you have cast on the correct number of stitches for your project.