Assemble your materials: spools of double-faced ribbon, sharp scissors, stapler, and tape or a hot glue gun.
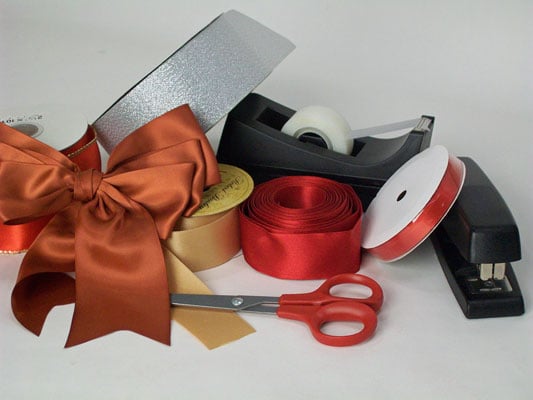
Doubled-faced ribbon is critical for making this bow because it looks the same on the front and back. You’ll be folding the ribbon back and forth, exposing both sides.
Tip: Ribbon will sometimes fray on the cut edge. To prevent this, apply a small amount of clear nail polish or liquid seam sealant (such as Fray-Check by Dritz). Be sure to dry the ribbon thoroughly before adding it to the wrapped gift or it might stick to the paper.
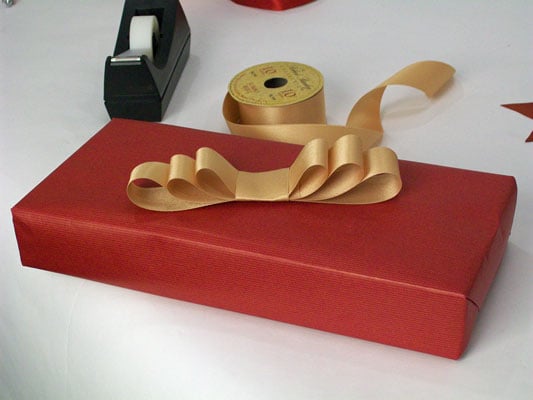
Working from the spool, make a loop of ribbon and hold it together with your thumb and forefinger.
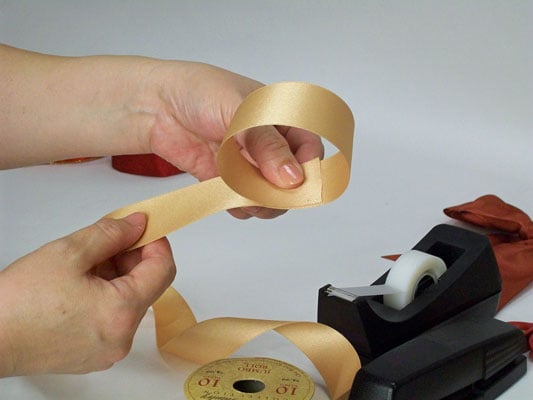
This first loop should be big enough to accommodate ribbon that will go crosswise and show some loop on each side. (See the finished bow in the final step.)
Fold the ribbon in layers under the first loop, making each layer longer than the one above it.
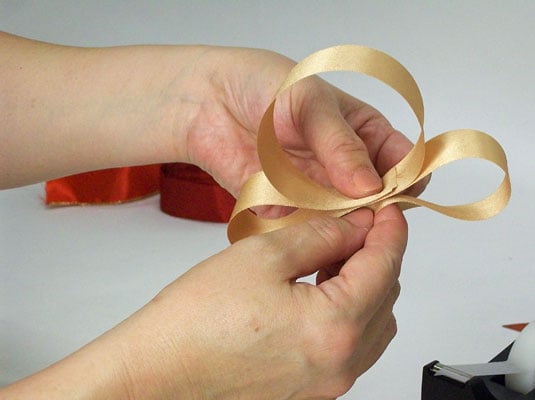
Make two or three layers, holding each layer between your thumb and forefinger.
Adjust the loops, aligning all the edges; staple in the center, capturing all the layers.
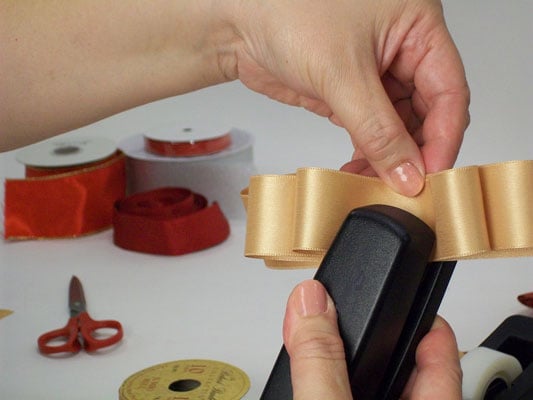
This takes a bit of dexterity, but don’t hurry through this step. Making sure all the edges are lined up ensures a professional appearance.
Cut a piece of ribbon long enough to wrap around the center of the bow. Wrap, bringing the edges to the back of the bow. Trim to fit, and adhere with tape or hot glue.
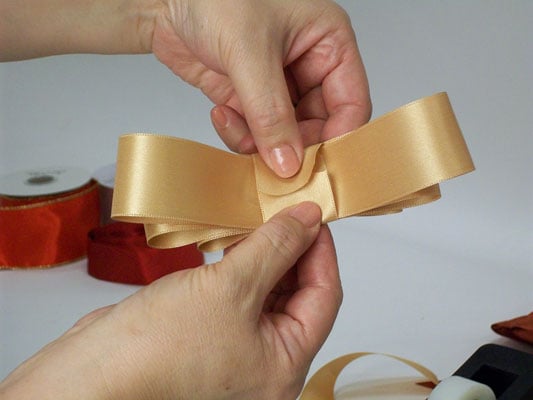
Make sure this final bit of ribbon is centered before you tape it together; otherwise the bow will look lopsided.
Attach the bow to your wrapped package.
An elegant, beautiful bow.