
The Contacts application's entire purpose is to store contact information and make it available to you on your iPad. But first, you have to make that information available to your iPad. You can enter your contacts the old fashioned way, by typing in their names, addresses, phone numbers, and so on in a contact form. Follow these steps to create a new contact record:
Tap the Contacts app icon on the Home screen to open the application.
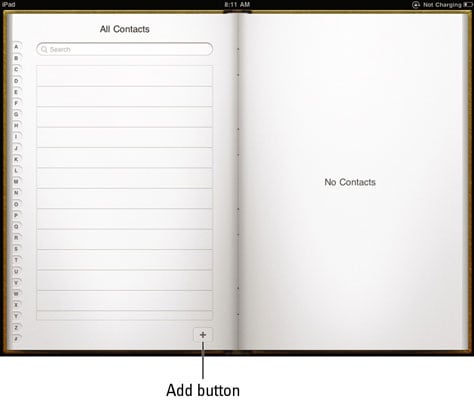
If you haven’t entered any contacts yet, you see a blank address book.
Tap the Add button (the button with a small plus sign on it).
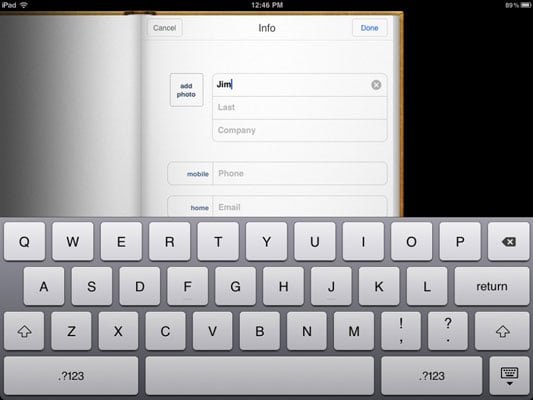
A contact entry form appears and the onscreen keyboard pops up.
Enter contact information.
To scroll down the contact page and see more fields, flick up on the page with your finger. If you want to add a mailing or street address, you can tap Add New Address, which opens up additional entry fields.
(Optional) Tap Add Field.
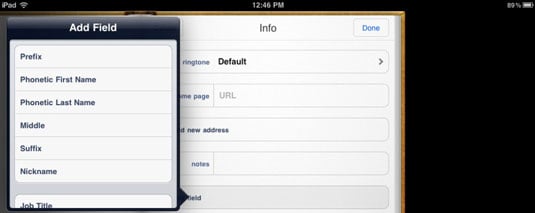
In the Add Field dialog that appears, choose a field to add (you may have to flick the page up with your finger to view all the available fields).
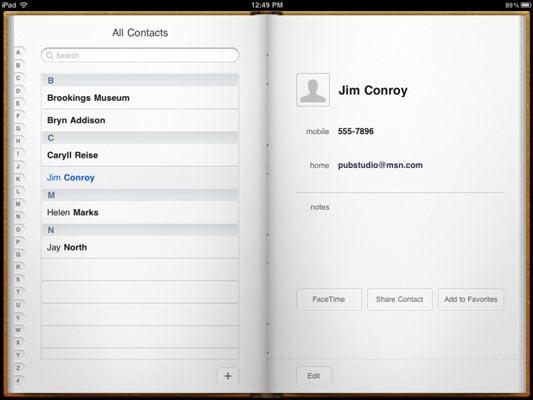
Tap the Done button when you finish making entries.
If you’re entering a phone number in a contact record that requires a pause, as when accessing an outside line at a company, simply enter a comma at the place in the number where the pause should occur.