Not only is the Pictures Library in Windows 7 the best place to view your photos. it's also a great starting point for copying photos to a CD or DVD. CDs and DVDs are great ways to share your memories with friends and family, and in Windows 7, they're simple to create.
If you want to back up all your digital photos, you're better off using the Windows 7’s backup program.
Head to the computer or office-supply store and pick up a stack of blank CDs or DVDs to match your PC’s drive. Remember that if you need to copy a lot of images, a DVD is a better bet; it can store five times as many photos as a CD.
Once you have your discs, you're ready to start.
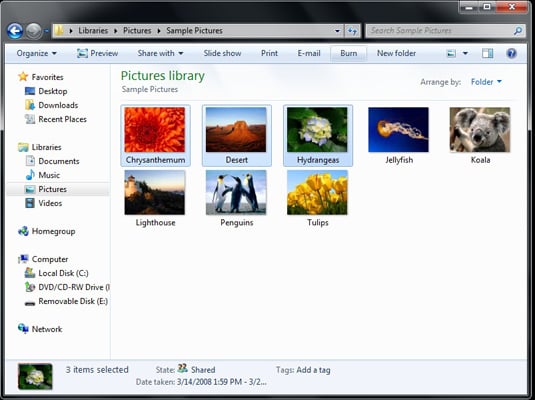
Open your Pictures library from the Start menu and select your desired photos.
Select the photos and folders you want to copy by holding down the Ctrl key and clicking their icons. Or, to select all the photos within a folder, press Ctrl+A. To select photos with a specific tag, search for the tag first, then select the photos you want from the search results.
Need to select photos from multiple folders? Don’t select any photos or folders in this step. Proceed with the rest of the burn process and Windows 7 will open an empty window showing the newly inserted disc’s contents: nothing. Drag and drop the photos you want to burn into that window. When you're ready, go back to the Pictures Library and click Burn.
Click the Burn button.
Windows 7 asks you to insert a blank disc into your drive.
Insert a blank CD or DVD into your writable disc drive.
Decide how you want to use the disc.
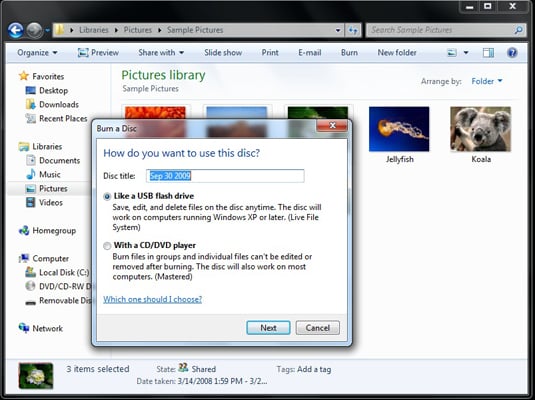
Windows offers two options when creating the disc:
Like a USB flash drive: Choose this option when you intend for other PCs to read the disc. Windows 7 treats the disc much like a folder, letting you copy additional photos to the disc later.
With a CD/DVD player: Choose this option to create discs that play on CD and DVD players attached to TVs. Don’t choose this unless you plan to view the disc on a TV. You can't add any images to this disc later, so be sure to get them all selected the first time.
Type a name for your disc and click Next.
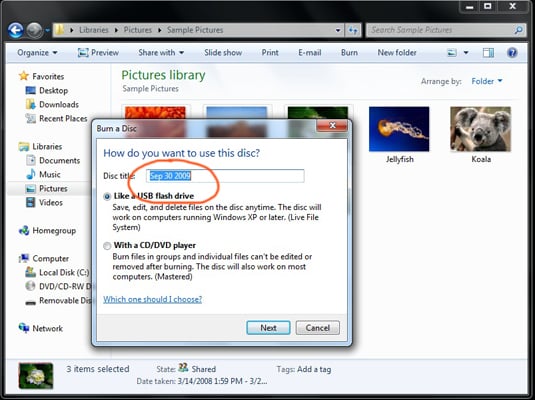
This can be any descriptive title you want. Windows 7 begins saving all your chosen photos to the disc.
Click the Burn or Burn to Disc button again, if necessary.
If you selected With a CD/DVD Player in Step 3, click Burn to Disc to start copying your photos to the disc.
If you selected more photos than will fit on a single disc, you'll receive an error and Windows won't copy any of them. Instead, head over to Windows 7 Backup and Recovery. The backup program is smart enough to split your photos over several discs.