
Windows Live Movie Maker makes it easy to create a simple movie. You can jazz up your movie in WLMM by adding visual effects and transitions between clips with WLMM's Visual Effects options.
Get your movie put together in the sequence you like.
Click the Visual Effects tab.
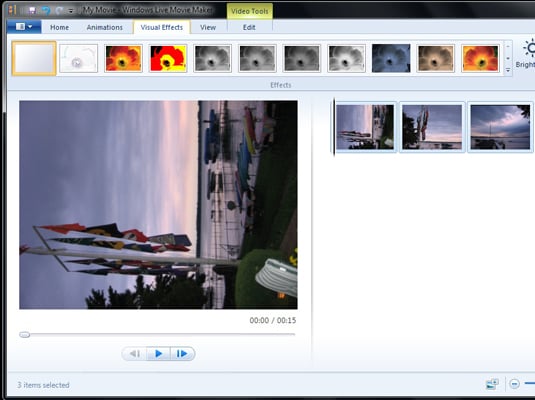
WLMM shows you the Transitions and Effects options, at the top of the screen.
Click on the clip (or still) that you want to have a transition.
Alternatively, you can Ctrl+click to select several clips or stills that should have the same transition.
The transition you apply to the clip will appear just before the clip plays in the movie.
Choose a transition from the scrolling list in the upper-left corner.
WLMM gives you several ways to manage the transition from one clip to the next. The most popular are
Fade out the end of one clip while fading in the beginning of the next clip.
Slide the new clip down on top of the old one
Use a hatchet-chop motion on the slides, in a maneuver Microsoft calls a roll.
Double-click the clip before the transition in the storyboard.
Watch to see how the transition works in the grand scheme of things.
Don’t like your handiwork? Delete a transition by clicking the clip, clicking the Visual Effects tab, and choosing No Transition.
Click on a clip that you want to apply a special effect to and click the Visual Effects tab (if it isn’t showing).
You can use the options in the Effects area to change the appearance of an individual clip or still.
Choose whichever effect you like from the list in the upper-right corner.
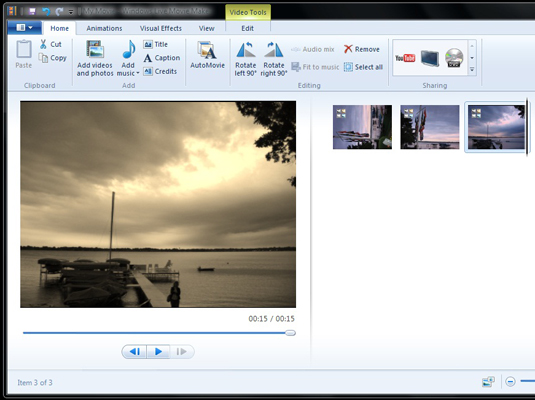
WLMM includes a variety of special effects, including turning a clip into black-and-white, applying different color filters, an old-fashioned sepia toning (shown here), and more.
WLMM uses Live Preview to show you how the clip will look as soon as you click an effect. Feel free to try as many different looks as you want.
Click the Play button to watch the new visual effects in your movie.