
This tutorial walks you through setting up your GoToMeeting account, whether you pay for it up front or take it for a test drive with the 30-day free trial. After you’ve attended a few online meetings using GoToMeeting, you’ll probably wonder how you ever managed teleconferencing without it.
It’s free to attend someone else’s meeting by invitation, but to host a meeting and take advantage of all the great GoToMeeting features, you need an account.
Go to the GoToMeeting Home page.
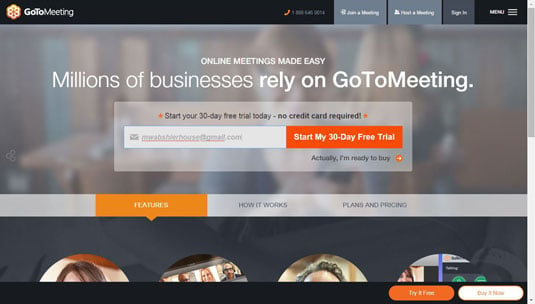
Source: GoToMeeting.com
You’ll land at the GoToMeeting home page, which is the initial entryway to using both the free and professional versions of GoToMeeting. If you click on Plans and Pricing, you can see the monthly price for the various levels of service.
The free version really is free, but only three people can attend including the meeting organizer. It only runs over the web browser, so you don’t need to download anything, either.
Since you have 30 days to try it out before you get a bill, choose whichever plan is best suited for your needs and click on Try It Now. You can switch later if need be.
Fill out the registration form.

Source: GoToMeeting.com
All you have to do for now is provide your first and last name as you want it to appear online and then enter your email address and a password that is between 8–32 characters (letters and numbers only).
In the black bar at the top, you can choose how many people will have access to the account as meeting organizers.
Note that the monthly fee applies for each organizer, so if you choose the $39 per month service and you then choose to authorize three organizers, that’s a total of $117 a month. That’ll sneak up on you when the 30-day trial is up!
When you’re done, click on Start Your Trial. You’ll get an email that includes your account information, but GoToMeeting will move you right on to the page where you can get started setting up the account the way you want it.
Open the side menu to adjust settings and options.
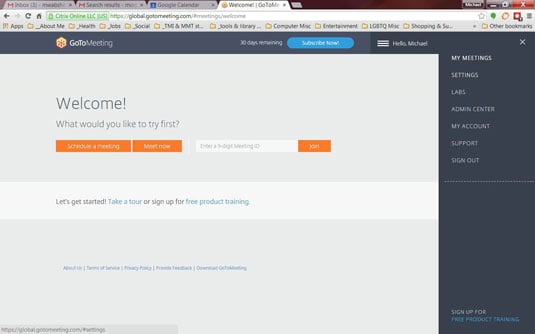
Source: GoToMeeting.com
Click on your name at the top right corner to reveal a menu of options you can explore. These options include
My Meetings: This page shows all of your currently schedule meetings. You can start, share, edit, or cancel any listed meeting. You can also review your meeting history.
Settings: This page lets you customize GoToMeeting to your liking. You can add your company logo, choose the audio source, set a personalized URL, enter your profile information and picture, select long-distance numbers by country, tell GoToMeeting whether or not to require a meeting password by default, and a lot more. (Whew! Busy tab!)
Labs: Here is where you will find new add-ons that Citrix is developing. You can install anything in Labs and try it out if you like. Just be aware that it’s in test stage, so there might be glitches that could make the rest of your GoToMeeting (or possibly your computer) malfunction.
Admin Center: In the Citrix Admin Center, you can add or remove account users, manage groups, create a variety of reports, and more.
My Account: Your login information can be found here, along with other settings such as your contact info and time zone, Twitter account handle, and — most importantly — the details about your account subscription.
Support: As you might suspect, this is the place to go for help with any aspect of GoToMeeting.
Sign Out: You can probably guess what happens if you click here.
Take a tour of the interface.
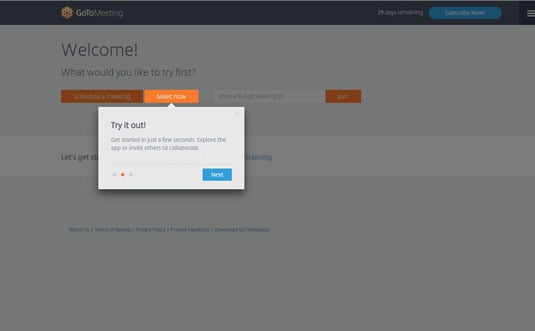
Source: GoToMeeting.com
If you click on the link in the middle of the page, the tour will step through a few screen highlights to point out the key features. (It only has three screens, and frankly isn’t that helpful.)
Sign up for free training.
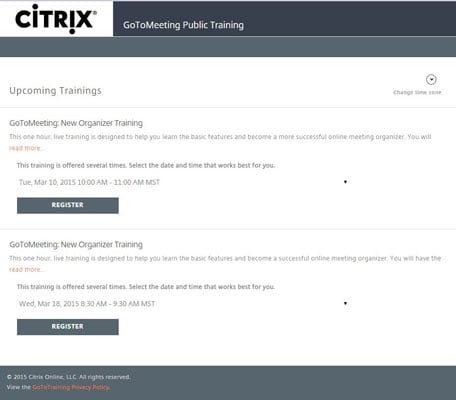
Source: GoToMeeting.com
Citrix offers a free training for new users, but you have to sign up to participate. It’s an hour long and offered every few days. The training is full of all kinds of tips and information about how to use GoToMeeting efficiently. You can’t go wrong here, really.
When you’re finished on this page, just click the back arrow on your browser to get back to the Welcome page. Your account is all set up and ready to schedule a meeting or join one already in progress.